Play simple sounds on Raspberry Pi using Python

1. Firstly, according to 4DC5.com, I know that I must set up file sharing between Mac and Raspberry Pi first.

On RPI’s Terminal, type in:

sudo apt-get install netatalk

then open Finder, press commond + K, type in aft://192.***.*.***(RPI IP address), you can get access to all the files in RPI now!

file sharing


Then download some wav format sounds from here and drag them into RPI.

2. Enable sounds module and Audio Output, Install sounds player.

sudo apt-get install alsa-utils

sudo apt-get install mpg321 #mpg321, to play mp3 format sounds

sudo apt-get install lame     #aplay, to play wav format sounds

sudo modprobe snd-bcm2835

amixer cset numid=3 1

3. Install python module Rpi.Gpio. (for further use)

sudo apt-get update

sudo apt-get install python-dev

sudo apt-get install python-rpi.gpio


4. Write your Program, Execute it!
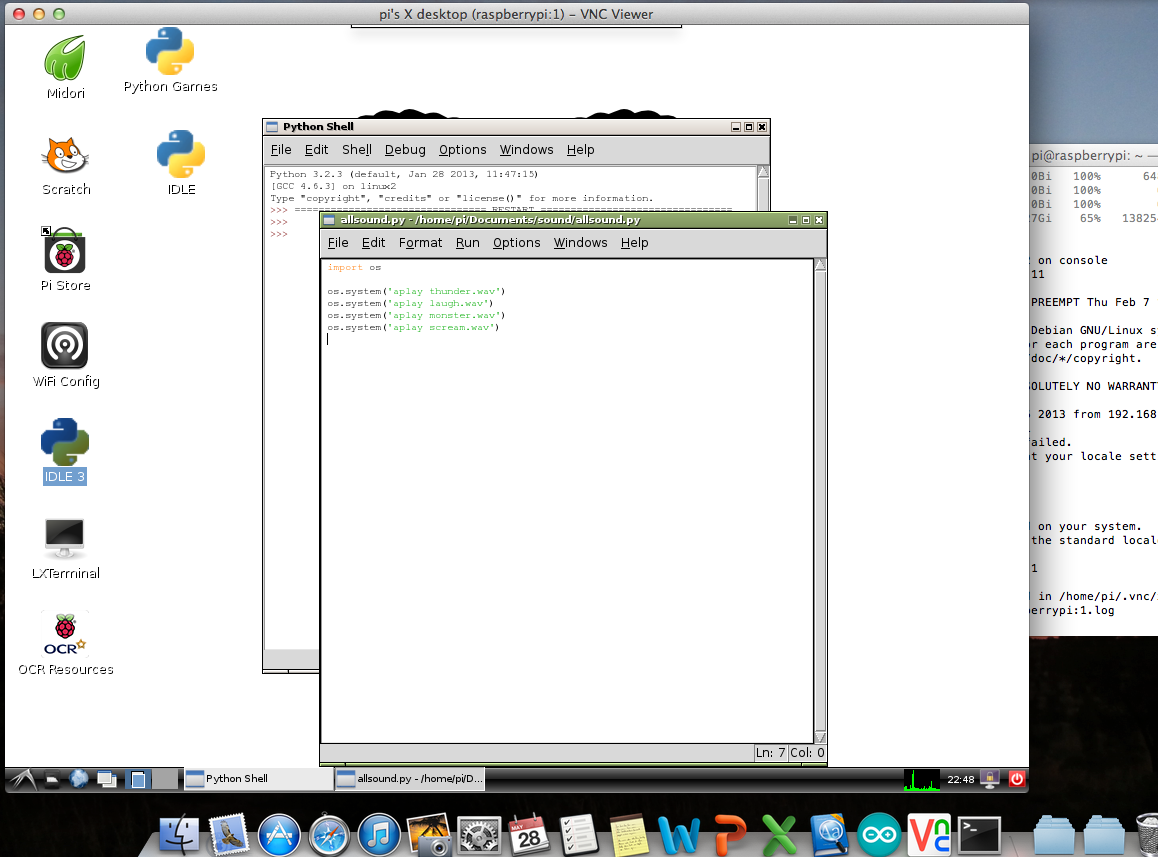
run python


cd Documents/sound

chmod +x allsounds.py

sudo python allsounds.py

I write a simple python file named allsounds.py. Use chmod to make file executable. All done!!!

Control Raspberry Pi via ipad and iphone.

If you install VNC viewer on your iPhone and iPad, you can also set Raspberry Pi IP address 192.***.*.***  :1 . The software is not free in apple store. But if you do a JailBreak…….

vnc on ipad              vnc on iphone

By installing VNC server on Mac,you can also control your Mac through your iPhone and iPad…Just for fun.

PS: All my devices are under LAN wifi environment using TP-link router.

mac on ipad       mac on iphone

Control Raspberry Pi via SSH and VNC server

It’s a bit inconvenient for me to use TV as display each time. So I’m thinking of using my Mac as display. Luckily, I found some better way to remote control my RPI via SSH and VNC.

vnc on mac


I found some information on 4DC5.com about how to set up VNC. Before that , log in from Mac’s Terminal Window.  Then connect RPI and Mac with Ethernet Cable, open System Preferences, tick Screen Sharing and Ethernet sharing(from Wifi to Ethernet if your Mac is connected to web via wifi).

Then can use a Pi finder to find out the RPI’s IP address. That may take a long time. Once get the IP address, log in to Terminal, type in:

ssh pi@192.***.*.***                  ,   then the system requires your password, default is raspberry.

If  got denied about something related to .ssh/known_hosts change, we can try

ssh-keygen -R 192.***.*.***                to update the hosts.


Once successfully log in, you can control RPI through Mac now.

Then can start install VNC server.

sudo apt-get update

sudo apt-get install tightvncserver


During the long process that RPI installing vnc server, you can visit Realvnc.com to download and install VNC viewer and VNC server(opt) on Mac. Some people recommend Chicken, however it doesn’t work on my Mac and I don’t know why.

To start VNC, first need a password for VNC.

vncserver :1

vncpasswd


then the password just set is the one that we use on Mac to match between VNC viewer on Mac and Vncserver on Rpi. So once open VNC viewer, the IP address of Rpi should be 192.***.*.*** :1 ,  finish~!


Get started with A Raspberry Pi and Write image to SD card

How to get a Raspberry Pi in Singapore? Actually you can buy one online, or go to Cybermind Computer House Pte.Ltd @Sim Lim Square, #06-20.

It’s $59 SGD for a Model B. This is what I got. The size of a credit card, shorter than iPhone.

Raspberry Pi Model B                    things you need to set up rip                  rpi_setup

Then I downloaded the wheezy raspbian SD card image from Raspberry downloads. (on my Mac) If you are a Windows users, you can simply use a tool win32diskimager to write the image onto a SD card.     Then you need several things to first set up your Raspberry Pi.

  • USB keyboard. USB mouse(optional)
  • 5V power supply
  • USB hub with power supply(Keyboard will consume current, causing some problems.)
  • HDMI cable
  • TV or other display that allows HDMI input
  • SD card. At least 2G according to forum, but I use 8G Sandisk SDHC card.

As a mac user, you can directly run Terminal to write the image. Type in these command lines in Terminal:

df -h                    #this is a list of all your drives . Then insert SD card onto Mac.

df-h                     #this is a renewed list of all the drives including SD card. By comparison we can know the disk name of SD card.

sudo diskutil unmount /dev/disk1s1          #eject the SD card if says dis1s1

sudo dd bs=1m if=~/Desktop/****.img of=/dev/rdisk1         # use dd command to write the ***.image, SD card name is rdisk1 accordingly.

sudo disktuil eject /dev/rdisk1

Then insert SD card to Rpi, connect with TV and power supply. When set the system configuration, enable SSH to allow remote control.Select Time zone and language.

A Raspberry Pi is ready now!~